Granite Inspection Procedure & Key Points
This document outlines the standard procedure and critical focus areas for inspecting granite slabs and tiles before shipment or upon receipt.
I.?Pre-Inspection Preparation
Document Review:
Purchase Order (PO): Verify quantity, dimensions, thickness, finish, and product name.
Quarry Block Report: Confirm the origin of the stone batch.
Packing List: Cross-check against the actual shipment.
Tools & Environment:
Tools: Measuring tape/caliper, straightedge, square, moisture meter, digital colorimeter (if color matching is critical), UV lamp (for resin detection), and a bright light source.
Environment: Inspection must be conducted in a well-lit area, preferably under natural daylight or bright, neutral white light to accurately assess color and finish.
II. Inspection Procedure & Key Points
The inspection should be systematic, covering visual, dimensional, and physical characteristics.
A. Visual Inspection (Surface Quality)
Color & Pattern Consistency:
Focus: Compare slabs/tiles from the same batch. There should be no drastic color variation from the approved sample.
Key Point: Natural variation is expected, but it should be within an acceptable range as per the project requirements.

Finishing Quality:
Polished: Must have a uniform, high-gloss mirror finish without hazy or dull areas.
Honed: Should have a smooth, satin-uniform matte finish.
Flamed/Bush-Hammered: Texture should be consistent across the entire surface.
Surface Defects:
Cracks & Fissures: Distinguish between superficial fissures (natural, usually acceptable) and structural cracks (deep, often unacceptable).
Chips & Pits: Check for small missing pieces on the surface, especially on edges and corners.
Stains: Look for oil, rust, or chemical stains that cannot be removed.
Discoloration: Check for blotches or areas that are significantly darker/lighter.
Veining & Markings:
Focus: Ensure the natural veining is as expected. Check for ugly or concentrated spots of minerals that affect aesthetics.
B. Structural & Dimensional Inspection
Thickness:
Focus: Measure thickness at multiple points (center and all four corners) using a caliper.
Key Point: Thickness must be consistent and within the tolerance specified (e.g., +/- 1mm for 2cm slab).
Dimensions:
Focus: For tiles, check length, width, and diagonal dimensions.
Key Point: Ensure consistency to avoid lippage (uneven edges) during installation.
Squareness & Flatness:
Squareness: Use a carpenter’s square to check if corners are 90 degrees.
Flatness: Place a long straightedge on the surface. Check for any gaps indicating warpage or bowing.
C. Resin & Filling Inspection
Purpose: Most granites are resin-treated to fill minor pits and fissures and enhance the polish.
Inspection:
Visual: Look for areas where the resin has a different gloss, color, or transparency than the natural stone. It should be invisible.
UV Light: Use an ultraviolet lamp. Resin-filled areas will often fluoresce differently than the natural stone, revealing the extent and quality of the repair.
Key Point: Excessive or poorly matched resin is a major defect.
D. Physical Condition & Packing
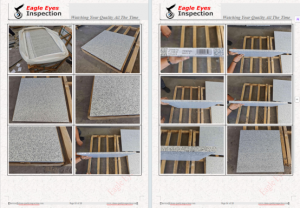
Edges & Corners:
Focus: Inspect for chipping or damage on all edges and corners, which are highly vulnerable.
Moisture Content:
Focus: Use a moisture meter. High moisture content can lead to efflorescence (white salt deposits) after installation.
Key Point: Slabs should be dry, especially if they are resin-treated.
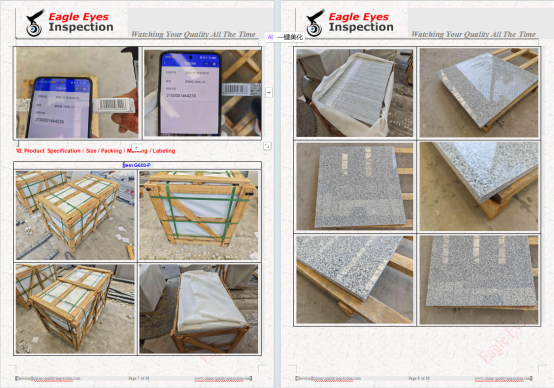
Packing:
Focus: Check if slabs/tiles are properly packed with sturdy crates, adequate separators (e.g., foam or cardboard between slabs), and well-secured to prevent movement and damage during transit.

III. Defect Classification & Reporting
Major Defect: Structural cracks, deep stains, excessive warpage, or any flaw that makes the piece unusable for its intended purpose. Result: REJECT the piece.
Minor Defect: Small, superficial pits, minor color variation, or small edge chips that can be repaired or are acceptable for the project. Result: Document and negotiate a discount or repair.
AQL (Acceptable Quality Level): For large shipments, use a statistical sampling plan (like AQL) to determine how many pieces to inspect and the maximum number of allowable defects.
Final Report: The inspection report should include photos of all defects, measurements, and a clear summary of accepted, rejected, and questionable pieces